Posted:
Monday, October 13, 2014
Determine Your Adwords Geo-Targeting Radius Through Geo-Coding
 For dealerships, a very important aspect of your Adwords campaign is determining how far your ads should target. Set your radius too wide and you’ll be wasting precious ad spend on leads that you likely won’t be able to convert. On the other hand, set your radius too small and you’ll most likely be missing out on some opportunities for potential customers. You could just play the guessing game and then optimize the targeting radius as campaigns run. Another way to determine your Geo-Targeting radius through a data-driven decision is through geo-coding. Geo-coding is the practice of taking location data and mapping them onto a graphical map interface. Sounds good? Grab a shovel and let’s dig deep into some data.
Step 1: Google Maps Engine
The first thing you’re going to need is a Google Mapsengine account. You can get one at mapsengine.google.com/maps/. It’s a free mapping tool, though you can pay a premium for extra features. For our purpose the free features would suffice. The best way to use Maps Engine is to create an account using the Google account that is already associated with your Adwords account.
Step 2: Prepare The Data Set
The next step is to get a data set that will work with Maps Engine. Map Engine allows you to easily upload data from an Excel spreadsheet, as long as it’s saved as a CSV file. If your CRM allows you to export your data into excel then this step should be a breeze. Just trim down the data set to two columns: Zip Code and Model Purchased or Model Inquired About (for lead gen data). If you’re unable to export the CRM data then this step may require some tedious data entry into excel.
Step 3: Create A New Map
Once you have your Excel data set in an Excel CSV file, then the next step is to import the data into Google Maps Engine. Get to the MapsEngine home screen and click on “Create A New Map”. Next click “Import” to input the data into Maps Engine. You can either click and drag or browse for the file. Next select the “Zip Code” field to let Google know where the location data is. Then select “Model Purchased” to choose the column you want the location pin to be labeled as.
Step 4: Analyze The Data
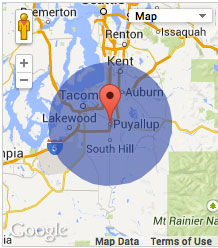
You should now have a beautiful looking map with various pinpoints to mark the location of your leads or conversions. From there it’s a matter of looking at the map to see where on the map do the leads cease.


